How To Grow Beautiful Camellias: Ultimate Guide For Gardeners
Growing beautiful camellias requires proper care and attention. Here are some key tips to help you achieve success: 1. Choose the right variety for your climate and soil conditions.2. Plant camellias in well-draining, acidic soil in a location with partial shade.3. Provide regular watering, especially during dry periods.4. Apply a layer of organic mulch around the base of the plants to conserve moisture and suppress weeds.5. Prune camellias after blooming to maintain shape and encourage healthy growth.6. Protect camellias from extreme temperatures and frost by providing adequate shelter or covering them when needed. By following these guidelines, you can create a favorable environment for your camellias to thrive and display their stunning blooms.
Understanding Camellia Care
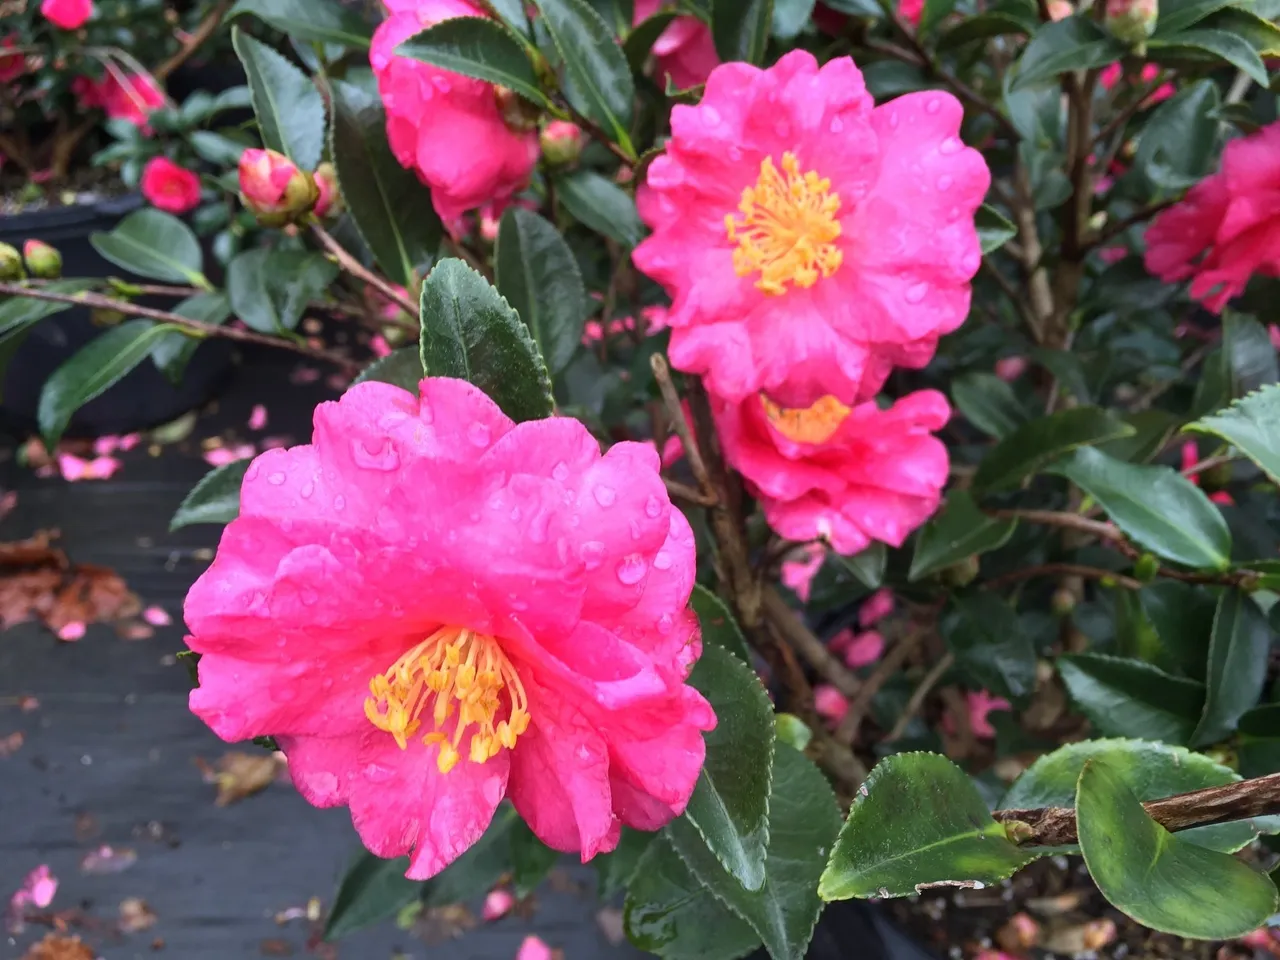
Camellias are exquisite flowering plants that can add a touch of elegance and beauty to any garden. However, to grow thriving camellias, it’s crucial to understand their specific care requirements. Camellia care encompasses various aspects, including proper soil preparation, watering practices, fertilizer application, pruning techniques, and pest control.
Firstly, let’s start with soil preparation. Camellias thrive in acidic soil with a pH range between 5.5 and 6.5. Before planting your camellias, it is recommended to amend the soil with organic matter such as leaf mold or compost. Good drainage is essential for these plants, so ensuring the soil is well-drained is crucial. Proper soil preparation not only provides essential nutrients but also creates a favorable environment for root development.
Imagine preparing a cozy and comfortable bed for your camellias in the form of well-drained and nutrient-rich soil. Just like humans, plants appreciate a nurturing environment!
Next, let’s discuss watering practices. Camellias require consistent moisture but should not be overwatered. Aim to keep the soil evenly moist without allowing it to become overly saturated or waterlogged. Mulching around the base of the plant helps retain moisture while also inhibiting weed growth and maintaining a more stable soil temperature.
Think of watering your camellias as giving them a refreshing drink when they’re thirsty. Too much water can drown them, while too little can leave them parched.
Moving on to fertilizer application, camellias benefit from regular feeding during their growing season. A balanced slow-release fertilizer formulated for acid-loving plants should be applied in early spring and again after blooming has finished. Be mindful not to over-fertilize as this can lead to excessive foliage growth at the expense of flowers.
Sunlight and Temperature Essentials
Camellias are known for their preference for partial shade or filtered sunlight. While they can tolerate full sun in cooler climates, they are more susceptible to leaf burn in hot, sunny areas. Ideally, camellias should be planted in a location that receives morning sun and afternoon shade. This allows them to benefit from the warmth and light necessary for flower development while protecting them from the intense midday sun.
Think of camellias as delicate flowers that prefer a soft, diffused glow of light rather than direct harsh sunlight. Just like us seeking some respite from the scorching sun!
When it comes to temperature, most camellia varieties thrive in USDA hardiness zones 7 to 9. They prefer mild temperatures ranging from 40°F (4°C) to 70°F (21°C). Extreme cold or heat can cause damage to the plants, resulting in bud drop or wilting. If you live in an area with colder winters, select camellia varieties that are more suitable for lower temperatures or consider providing protective measures during frosty periods.
Now that we have covered the important factors regarding sunlight and temperature requirements, we can move on to exploring other key aspects of caring for these beautiful flowering plants.
Watering and Fertilizer Guidelines
Proper watering and fertilization are essential for the healthy growth of camellias. These guidelines will ensure that your camellias thrive and produce abundant blooms. When it comes to watering, camellias prefer a moist but well-drained soil. It’s important to strike a balance between over-watering and under-watering, as both can be detrimental to their health.
During the growing season, which typically spans from spring to fall, camellias require regular watering. Deep watering once or twice a week is usually sufficient to keep the soil consistently moist. However, you should adjust the frequency depending on factors such as climate, soil type, and rainfall patterns. It’s best to monitor the moisture level in the soil using a moisture meter or by simply sticking your finger into the soil to check for dryness.
For instance, if you live in an area with hot summers or have sandy soil that drains quickly, you may need to water more frequently. On the other hand, if you experience frequent rain showers or have heavy clay soil that holds moisture, you might need to water less often. It’s crucial not to let the soil become waterlogged, as this can lead to root rot and other issues.
Remember: Consistency is key when watering camellias. Maintaining a steady moisture level helps prevent stress on the plants and promotes healthy growth.
In addition to proper watering, providing appropriate fertilization is equally important for camellias’ nutritional needs. Apply a slow-release balanced fertilizer specifically formulated for acid-loving plants in early spring when new growth emerges. This will provide an initial boost of nutrients for robust development.
Furthermore, supplementing with organic matter like compost or well-rotted manure can improve the overall health and fertility of the soil. Mulching around the base of camellias with organic materials helps retain moisture and regulate soil temperature.
Pro tip: Avoid applying excessive amounts of fertilizer, as this can lead to salt buildup and burned foliage. Always follow the manufacturer’s instructions for proper dosage and application.
Choosing the Ideal Location for Camellias
Selecting the right location for your camellias is crucial for their long-term success. These beautiful flowering plants have specific requirements when it comes to sunlight and shade availability. Understanding these needs will help you determine the best planting spot in your garden.
Camellias generally prefer partially shaded areas where they can receive a few hours of direct sunlight in the morning or late afternoon, but are protected from intense midday sun. This makes them ideal plants for dappled shade or filtered sunlight. Full shade should be avoided, as it can result in poor growth and reduced flowering.
When choosing a location, consider factors such as the orientation of your garden, existing trees or structures that provide shade, and the microclimate of your area. South-facing or east-facing spots often receive sufficient light without exposing camellias to harsh afternoon sun.
Think of camellias as delicate creatures that enjoy basking in gentle sunlight while finding refuge in the cool shade during hot summer days.
Additionally, it’s important to ensure good air circulation around camellias to prevent disease development. Avoid crowded spaces where other plants may impede proper airflow.
With watering and fertilization guidelines covered and an understanding of the ideal location for camellias in mind, we are well-equipped to create an environment where these stunning blooms can truly flourish.
Sunlight vs. Shade Availability
When it comes to growing beautiful camellias, understanding the sunlight and shade requirements is crucial. These stunning flowering plants thrive in the right balance of light and shade, ensuring optimal growth and blooming. While some varieties can tolerate full sun exposure, others prefer partial shade to protect their delicate blooms from scorching heat or extreme temperatures.
Camellias generally prefer a location that receives morning sun but is shaded during the hot afternoon hours. This allows them to enjoy the benefits of sunlight for photosynthesis while avoiding stress and damage caused by intense heat. However, it’s important to note that specific varieties may have different preferences, so it’s essential to research the specific needs of the camellia variety you plan to grow.
If you have a garden with limited sunlight availability, fear not! There are camellia varieties that can still thrive in partial or even full shade conditions. These shade-loving camellias are often cultivars of Camellia japonica or Camellia sasanqua species, known for their ability to flourish in shadier spots. Their glossy green leaves and vibrant blooms can add charm and color to those shaded corners of your garden.
When considering the placement of your camellias, observe the sunlight patterns in your yard throughout the day. Take note of areas where there are trees or structures that may cast shadows at certain times. By choosing the appropriate spot based on sunlight availability, you’ll ensure that your camellias can reach their full potential and delight you with their striking flowers.
Remember, finding the right balance between sunlight and shade is essential for maintaining healthy and beautiful camellias. So be mindful of providing adequate shelter from direct midday sun while still allowing enough light for proper growth and development.
Appropriate Planting Periods
To give your camellias the best start in life, it’s crucial to consider the appropriate planting periods. Proper timing ensures that your plants can establish themselves before facing harsh weather conditions or extreme temperatures, providing them with a strong foundation for growth and blooming.
In general, the best time to plant camellias is during the cooler months of the year, such as fall or early spring. This allows the roots to settle in and develop without being subjected to scorching heat or freezing temperatures. Planting in these seasons also gives them ample time to establish themselves before the demands of flowering.
However, it’s important to consider your specific climate and local conditions when determining the exact timing within these broader planting periods. For example, if you live in a region with mild winters, early spring might be more appropriate for planting camellias. On the other hand, areas with severe winter frosts may find fall planting more suitable. Researching and understanding your specific growing zone will help you make informed decisions about ideal planting times.
Another factor to consider is avoiding planting during times of excessive rainfall, as this can lead to waterlogged soil and root rot. Aim for periods when the soil is well-drained and not saturated from heavy rains.
By planting your camellias at the right time, you give them optimal conditions for establishment and growth. This thoughtful approach sets the stage for healthy plants that can withstand environmental challenges and reward you with an abundance of breathtaking blooms.
Container vs. Ground Planting for Camellias
When it comes to planting camellias, gardeners have the option to choose between container planting and ground planting. Each method has its advantages and considerations, and understanding them can help you make an informed decision based on your specific circumstances.
Container Planting: Camellias can thrive beautifully in containers, making them an excellent choice for those with limited space or who want more control over the plant’s environment. The benefits of container planting include the ability to move the plants around to find their ideal position, controlling the soil quality, and ensuring proper drainage. Additionally, container-grown camellias are less susceptible to certain pests and diseases that may be present in the ground. This versatility also allows gardeners to showcase camellias as patio or indoor plants, providing a lovely pop of color.
However, it’s important to note that camellias planted in containers generally require more frequent watering and fertilization compared to ground-planted camellias. Containers can limit root growth and may require repotting every few years. In regions with extreme winter temperatures, container plants may also need extra protection from frost by moving them indoors or using frost covers.
On the other hand, ground planting is the classic method for growing camellias in gardens and landscapes. By directly planting camellias in the soil, they can establish strong root systems and expand naturally. Ground-planted camellias usually require less maintenance compared to their container counterparts as they benefit from natural rainfall and nutrient absorption from the surrounding soil.
An added advantage of ground planting is that these plants have a better chance of reaching their full size potential as compared to those grown in containers where root restrictions may stunt their growth.
However, before proceeding with ground planting, there are factors to consider. Firstly, ensure you choose a suitable location with well-drained soil that is slightly acidic. Camellias prefer partial shade, so locating them under trees or on the east or north side of buildings can provide protection from the intense afternoon sun.
It’s worth noting that ground-planted camellias may face challenges from pests and diseases present in the soil, such as root rot or nematodes. To mitigate these risks, proper soil preparation, regular inspections, and appropriate pest management techniques are essential.
Ultimately, the choice between container and ground planting depends on your specific needs and preferences. Whether you opt for container planting to maximize control and flexibility or prefer the natural growth of ground-planted camellias, both methods can result in beautiful blooms if done with care and consideration.
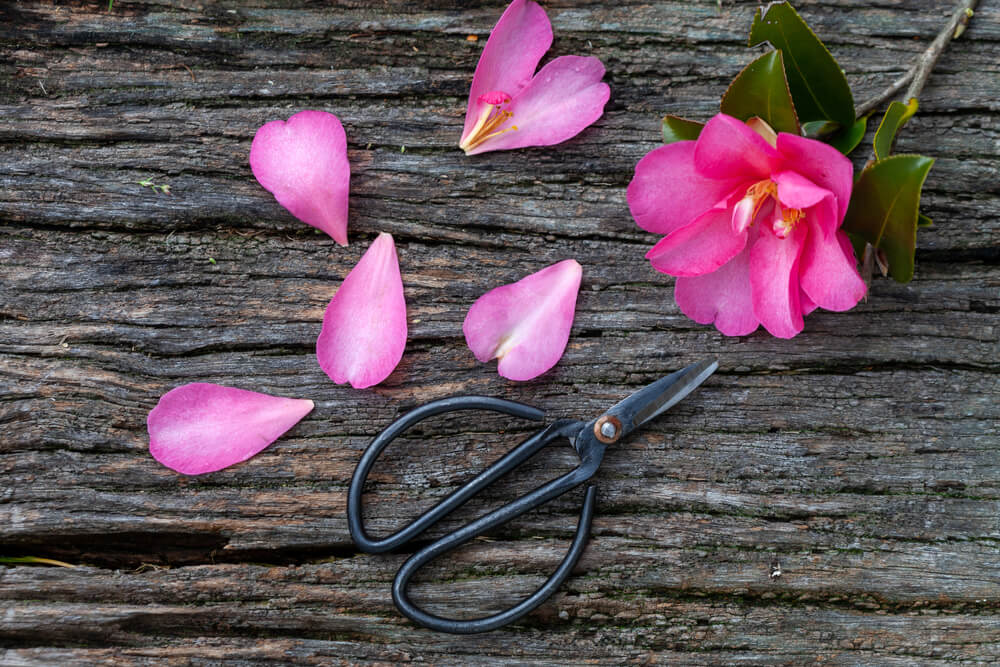
Regular Pruning and Maintenance
Pruning and maintenance play a crucial role in ensuring healthy growth and abundant blooms for your camellias. By implementing regular pruning techniques and providing proper care, you can enhance their shape, promote new growth, manage pests and diseases, and maintain an overall healthy appearance for your plants.
Timing is essential: The best time to prune camellias is after they finish flowering, generally in late winter or early spring. This timing allows the plants to recover from pruning while still allowing sufficient time for new buds to form for the following year’s blooms. However, avoid pruning too late in spring as it could remove flower buds that have already formed.
To begin pruning your camellia bushes, start by removing any dead or damaged branches. These branches not only detract from the plant’s appearance but can also invite pests and diseases. Make clean cuts just above a bud or branch collar using sharp pruning shears to encourage proper healing.
While each variety of camellia has its own growth habit and shape, aim for a well-balanced form with an open center to allow light and air circulation. Carefully thin out crowded branches and remove any crossing or rubbing branches that could lead to damage or disease.
Dealing with Common Camellia Problems and Solutions
Camellias are known for their exquisite beauty and vibrant blooms, but like any plant, they can face various challenges that may hinder their growth and health. As a dedicated gardener, it’s important to be prepared to tackle these common camellia problems with effective solutions.
One of the most prevalent issues that camellias encounter is root rot. This fungal disease thrives in saturated soil and can be caused by overwatering or poor drainage. To combat root rot, it’s crucial to ensure that your camellias are planted in well-draining soil. Consider adding organic matter such as compost to improve soil structure and drainage. Additionally, avoid overwatering your camellias and only water them when the top inch of soil feels dry. If you notice signs of root rot such as wilting leaves or discolored roots, prune away the affected areas and treat the plants with a fungicide specifically designed for root rot.
Another common problem faced by camellias is leaf spot disease. Caused by fungal pathogens, leaf spot disease leads to the formation of unsightly spots on the leaves. To prevent this issue, make sure to provide adequate air circulation by spacing your camellias appropriately and pruning any branches or foliage that may be overcrowding the plant. When watering, try to avoid splashing water onto the leaves as this can facilitate the spread of fungal spores. If leaf spot disease does occur, remove infected leaves promptly and use a fungicide recommended for treating this particular ailment.
Aphid infestations are yet another challenge that gardeners often encounter when growing camellias. These tiny insects feed on the sap of the plant, causing distorted growth and yellowing of leaves. To address aphid infestations, start by physically removing them from your camellias using a strong jet of water or by gently wiping them off with a cloth. You can also introduce natural predators such as ladybugs or lacewings to help control the aphid population. If the infestation persists, consider using an organic insecticidal soap or neem oil spray to further combat these pests.
Pruning is an essential aspect of camellia care, but it’s important to approach it with caution. Improper pruning can lead to decreased blooming and overall stress on the plant. When pruning your camellias, focus on removing dead or diseased branches, as well as any crossing or overcrowded ones. It’s best to prune immediately after the flowering season to allow sufficient time for new growth before the next bloom cycle. Avoid heavy pruning during this time, as it may impact the following year’s flowers.
As a passionate gardener, remember that prevention is key when it comes to keeping your camellias healthy. Regularly monitor your plants for signs of distress, including discolored leaves, wilting, or pest activity. Taking swift action at the first signs of trouble can make a significant difference in preserving the beauty and vitality of your camellias. Don’t hesitate to seek guidance from local horticultural experts or fellow gardeners who have experience with growing camellias in your specific region.
Quick keys to success with Shi Shi Camellias in the landscape.
*Acid soil (PH 5.5-6.0) is really important. A soil test will let you know the condition of your soil and also it will let you know what nutrients need to be added to correct PH.
*Raised beds
*Full sun to partial shade
*Fertilize each spring
*Keep a close eye on Tea scale insects and spray Horticultural oil to control.
* Lightly prune in spring
*Make sure soil is moist in dry months of Fall
* Do not overwater
WE ARE PLANT PROFESSIONALS
Any questions please call
Mario Boesch
Clean Cut Landscape
(504)415-1438