We’ve all experienced that springtime rush to get our gardens ready, often racing against the weather and our busy schedules. But what if we could get ahead of the game by prepping our garden beds during the cooler months? It’s not just about having an early start – it’s about creating the ideal growing environment before the first seeds even touch the soil. From testing pH levels to incorporating organic matter, there’s plenty we can accomplish while winter’s chill still lingers. Let’s explore how to transform those dormant beds into nutrient-rich havens that’ll give our plants the best conceivable start.

Key Points
- Remove dead vegetation and winter debris from garden beds while being careful not to disturb beneficial insect habitats.
- Test soil pH and add lime or sulfur as needed to achieve optimal growing conditions before spring arrives.
- Incorporate aged manure and organic matter into beds, allowing materials to break down during cooler months.
- Install black plastic or cardboard over prepared beds to suppress weed growth and warm soil temperatures.
- Plan garden layout considering sun exposure, water access, and crop rotation to maximize spring growing success.
Soil Testing and Ph Adjustment
A thorough soil test provides essential data for optimizing your garden beds during the cooler months. We’ll want to collect samples from multiple locations, mixing them thoroughly to create a representative composite. Let’s analyze pH levels, nutrient content, and organic matter percentages.
With our test results in hand, we can now make precise adjustments. If we’re dealing with acidic soil below 6.0, we’ll incorporate lime to raise pH. For alkaline soil above 7.0, we’ll add sulfur to lower it. Most vegetables thrive in slightly acidic conditions between 6.0 and 6.8. The cooler weather allows these amendments to integrate gradually, ensuring they’re fully effective by spring planting time. Remember, we’ll need to retest after any major pH adjustments to confirm we’ve reached our target range. Beneficial microorganisms in healthy soil help break down organic matter and release essential nutrients for optimal spring growth.
Clear Away Winter Debris
Before preparing garden beds for spring planting, we’ll need to remove accumulated winter debris that could harbor pests or diseases. This critical step prevents fungal growth and eliminates overwintering spots for harmful insects. Let’s tackle this task systematically when the soil isn’t waterlogged.
Remove fallen branches, dead leaves, and plant matter that’s settled on beds over winter – being careful not to disturb any beneficial insects that might be hibernating in designated insect hotels or purpose-built habitats.
Consider adding crushed pine mulch afterward to naturally deter slugs and other garden pests.
Inspect perennial plants for dead growth, cutting back any damaged stems to healthy tissue, making clean 45-degree cuts to prevent water collection.
Collect and dispose of diseased plant material in municipal waste rather than composting, while adding healthy organic matter to our compost bins.
Structural Repairs and Improvements
Let’s address key structural repairs to maximize our garden beds’ longevity and efficiency this season. We’ll need to replace any cracked or rotted bed borders, secure wobbly corner posts with additional bracing or concrete footings, and evaluate existing irrigation systems for potential upgrades.
While the soil remains workable in cooler temperatures, it’s an ideal time to install new drip lines or soaker hoses for more precise water delivery to our spring plantings.
Consider installing French drains along problem areas to prevent water pooling and potential damage to garden bed foundations.
Replacing Damaged Bed Borders
Garden bed borders deteriorate over time from weather exposure, soil pressure, and physical impacts. We’ll need to replace damaged borders now, before spring growth begins, to maintain clean edges and prevent soil erosion. Let’s assess the existing materials and choose suitable replacements that match our climate and aesthetic preferences.
For wooden borders: Remove rotted boards, treat replacement lumber with weather-resistant sealant, and secure with galvanized stakes every 4 feet.
For stone/brick borders: Clear damaged pieces, level the foundation with crushed gravel, and reset materials using masonry adhesive.
For metal edging: Pull out bent sections, install new pieces with overlap joints, and anchor with provided stakes at proper intervals.
Remember to maintain a consistent height and guarantee proper drainage when installing new border materials.
Reinforcing Corner Posts
Strong corner posts serve as critical anchor points for maintaining the structural integrity of raised garden beds. Let’s reinforce these essential supports before spring planting begins. We’ll start by excavating around existing posts to check for rot or instability at ground level.
For wooden posts showing wear, we’ll sister them with pressure-treated 4x4s, securing both pieces with galvanized lag bolts. If we’re working with metal posts, we’ll add concrete collars at the base for additional stability. Don’t forget to check that corner posts remain plumb using a level – even slight tilting can compromise the entire bed structure.
In areas with frequent freeze-thaw cycles, we’ll install frost heave prevention plates at the base of each post, extending outward to distribute ground pressure more evenly.
Adding Irrigation Systems
When upgrading raised beds with irrigation, we’ll first assess the existing wooden framework to determine ideal placement for supply lines and emitters. Let’s guarantee proper water distribution by installing a combination of drip lines and micro-sprinklers that match our plants’ specific needs.
Position the main supply line along the bed’s perimeter, drilling 1/2-inch holes through corner posts for clean routing. Install pressure regulators at the water source connection to maintain consistent 25 PSI flow through the system. Space drip emitters every 12 inches along secondary lines for vegetables, or every 6 inches for intensive herb plantings.
We’ll secure all lines with galvanized stakes and UV-resistant clips, preventing displacement during seasonal temperature changes. This setup allows us to automate watering schedules through a simple timer system.
Adding Essential Organic Matter
We’ll enrich our garden beds by incorporating nutrient-dense kitchen scraps like fruit peels, vegetable trimmings, and coffee grounds into our compost pile.
Once these materials break down into dark, crumbly compost, we’re ready to work it into our soil alongside aged manure from herbivorous animals. We’ll layer these organic amendments 4-6 inches deep, allowing beneficial microorganisms to integrate them with the existing soil structure during the cooler months.
This proper soil drainage helps prevent waterlogged conditions that can lead to root rot and plant diseases.
Composting Kitchen Food Waste
Although outdoor composting slows during colder months, kitchen scraps still provide essential organic matter for garden bed preparation. We can maintain active decomposition by focusing on nitrogen-rich materials and proper layering techniques.
When collecting kitchen waste, let’s consider the carbon-to-nitrogen ratio to accelerate breakdown, even in cooler temperatures.
- Layer fresh green waste (vegetable scraps, coffee grounds, eggshells) with brown materials (shredded paper, dried leaves) in a 1:3 ratio
- Maintain moisture levels at 40-60% by covering the pile during wet weather
- Chop materials into smaller pieces (1-2 inches) to increase surface area for microbial activity
We’ll see faster decomposition by monitoring our pile’s temperature and turning it every 2-3 weeks, ensuring valuable nutrients are ready for spring planting.
Layering Aged Animal Manure
Since aged animal manure provides essential nutrients and beneficial microorganisms, it’s critical to layer it strategically in garden bed preparation. We’ll spread a 2-3 inch layer of composted manure over our existing soil, focusing on even distribution and avoiding direct contact with plant stems or roots.
We need to select properly aged manure that’s been composted for at least six months. Chicken, rabbit, and horse manures are excellent choices due to their balanced nutrient profiles. Let’s avoid fresh manure, which can burn plants and harbor pathogens.
For clay soils, we’ll incorporate the manure deeper to improve structure, while in sandy soils, we’ll create a shallower layer to prevent nutrient leaching. Our goal is to build long-term soil fertility while providing immediate nutritional benefits for spring plantings.
Planning Your Garden Layout
Planning your garden layout during cooler weather lets you optimize space and growing conditions before spring arrives. We’ll want to examine sun exposure patterns, water accessibility, and plant compatibility as we sketch our beds. Let’s grab graph paper and map out where each crop will thrive.
- Position tall plants like corn and pole beans on the north side to prevent shading shorter crops
- Group plants with similar water needs – cluster thirsty tomatoes separate from drought-tolerant herbs
- Create permanent paths between beds that are wide enough for wheelbarrows and kneeling space
We can maximize yields by interplanting compatible crops and planning succession plantings. Don’t forget to rotate crop families to different bed locations from last season to prevent soil depletion and disease buildup. Installing efficient irrigation systems will ensure consistent hydration and promote sustainable water usage throughout your garden beds.
Early Season Cold Frames
Cold frames let’s extend our carefully planned growing season by creating protected microclimates right in our garden beds. We’ll position them on the south side of structures or fences to maximize solar gain and shelter from prevailing winds. By installing them now, we’re giving soil temperatures time to stabilize before early spring planting. Deep winter watering helps prevent dehydration of plants within the cold frame during freezing temperatures. Let’s construct our frames using recycled windows or twin-wall polycarbonate for the transparent top, setting them at a 45-degree angle to optimize light penetration. The sides should be insulated with straw bales or rigid foam board. We’ll monitor internal temperatures with a soil thermometer, venting the frame when it exceeds 75°F. During severe cold snaps, we’ll add an extra layer of protection by draping frost cloth over the frame at night.
Pest and Weed Prevention
Before we introduce tender seedlings into our prepped garden beds, establishing robust pest and weed barriers will greatly reduce later maintenance needs. Let’s focus on proven preventive measures that create protective zones around our early-season plantings.
- Apply a 2-inch layer of aged hardwood mulch, keeping it 2 inches away from plant stems to prevent crown rot and discourage rodent nesting
- Install copper tape or diatomaceous earth barriers around bed perimeters to deter slugs and snails from crossing during cool, damp conditions
- Pre-treat soil with beneficial nematodes while temperatures remain above 42°F, targeting overwintering cutworms and root-feeding insect larvae
We’ll also want to lay black plastic or cardboard over empty sections to suppress emerging weed seeds until we’re ready to plant those areas.
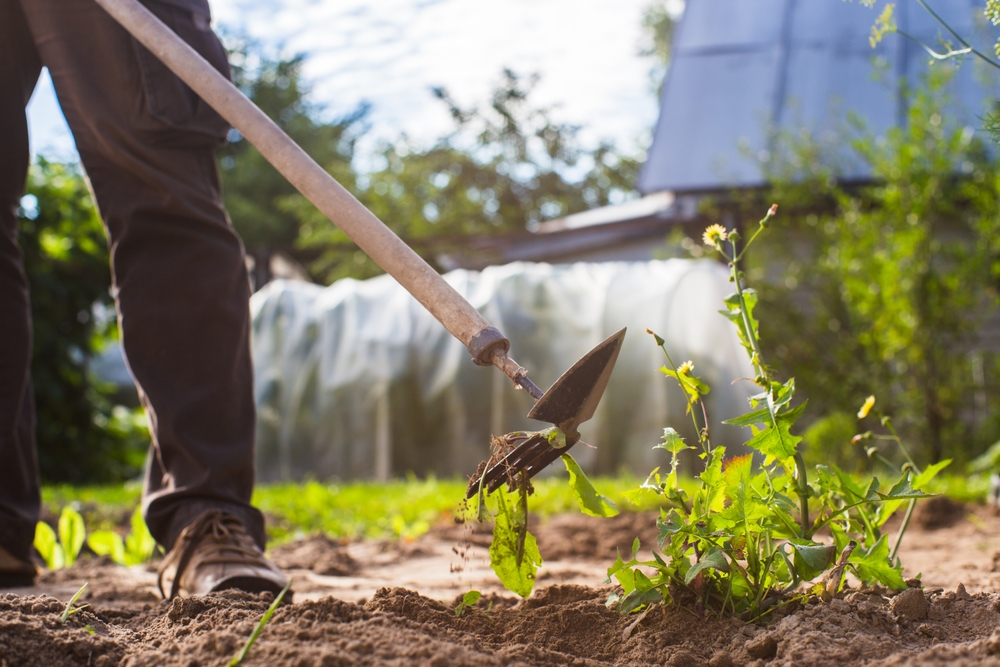
Consider targeting aggressive weeds like Virginia buttonweed in early spring when the soil is moist and roots are easier to remove completely.
Frequently Asked Questions
How Deep Should I Dig When Preparing a New Garden Bed?
We’ll want to dig 8-12 inches deep for most vegetable gardens, loosening soil and removing rocks. For deep-rooted plants like tomatoes, we’ll go 16-18 inches to guarantee proper root development.
When Is the Earliest Safe Time to Remove Winter Mulch Protection?
We’ll want to remove winter mulch gradually once soil temperatures reach 40°F consistently and frost risk diminishes. Let’s check local weather patterns and keep frost blankets handy during the changeover period.
Which Tools Are Essential for Spring Garden Bed Preparation?
We’ll need a sturdy spade, garden fork, bow rake, hand trowel, pruning shears, wheelbarrow, and soil testing kit for proper bed preparation. Don’t forget quality gloves and a kneeling pad.
Should I Till My Garden Beds Every Spring?
We don’t recommend tilling every spring, as it disrupts soil structure and beneficial organisms. Instead, let’s maintain no-till practices and add organic matter through mulching and light surface amendments.
How Long Before Planting Should I Prep My Garden Beds?
Let’s prep our garden beds 4-6 weeks before planting. We’ll amend soil, adjust pH, and allow beneficial microorganisms to establish. Working ahead guarantees nutrients are available when plants need them.
Takeaway
We’ve covered essential steps to prepare garden beds during cooler months, maximizing our spring growing potential. By implementing proper pH adjustments, structural improvements, and organic amendments now, we’re establishing ideal growing conditions. We’ll reap the benefits of cold frames and strategic planning when temperatures rise. Through these proactive measures and integrated pest management strategies, we’re positioning ourselves for a productive growing season ahead.