Regrading in landscaping refers to the process of reshaping the land’s surface to ensure proper drainage and prevent issues like water pooling or erosion. By regrading your landscape, you can improve drainage, promote healthy plant growth, mitigate flood risks, and enhance the overall aesthetics and functionality of your outdoor space. Consulting with a professional landscape architect or contractor is recommended for expert advice and assistance with the regrading process.
Initial Steps for Yard Leveling
Are you tired of dealing with a yard that slopes in all the wrong places? Regrading your landscape can be an excellent solution to achieve a level and functional outdoor space. However, before you grab your shovel, it’s essential to follow some initial steps to ensure a successful yard leveling project.
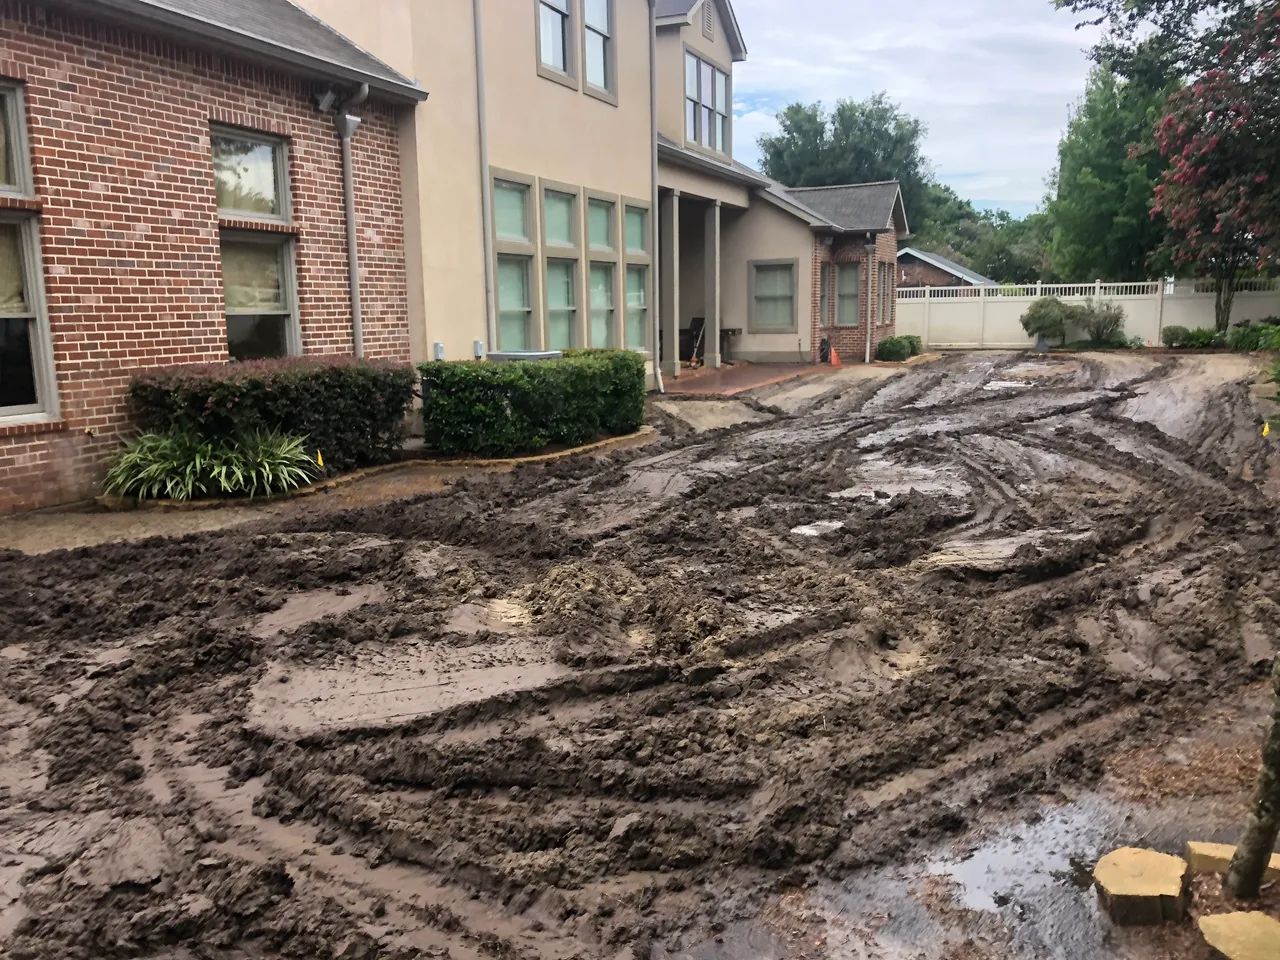
The first step is to assess the current state of your landscape. Walk around your yard and take note of any noticeable slopes, uneven areas, or drainage issues. Observe how water flows after rainfall or irrigation. Identifying these problem areas will help guide your leveling efforts.
For instance, if you notice that water tends to pool near the foundation of your house or flows towards low-lying areas, those are indications of possible grading problems that need to be addressed.
Once you’ve assessed the situation, create a plan. Determine how you want your yard to look and what purpose each area will serve. This could involve designating spaces for a patio, garden beds, or even a play area for children. A well-thought-out plan will enable you to address not only the existing problems but also enhance the aesthetics and functionality of your landscape.
Next, gather the necessary tools and materials. Depending on the size and complexity of your yard, you may need tools such as shovels, a wheelbarrow, a rake, a tamper, and a leveling tool. Additionally, you might require topsoil or fill dirt to build up low areas and create a smooth surface. Having all the required tools and materials ready beforehand will save you time and ensure a smoother workflow.
Remember: It’s essential to check with local building codes or homeowner associations before starting any major regrading work. Some areas have regulations regarding grading changes or require permits for significant alterations.
Understanding Landscape Regrading Needs
Creating a level yard involves not only addressing grading issues but also understanding the unique needs of your landscape. By gaining insight into these needs, you can make informed decisions and take appropriate action to achieve a well-balanced outdoor environment.
One important aspect to consider is proper drainage. Ideally, water should flow away from structures and low-lying areas to prevent issues like erosion, foundation damage, or standing water. Evaluate how water currently moves through your yard and identify any problem areas where water tends to accumulate or flows towards undesirable locations.
For instance, if you notice that water pools near garden beds or forms puddles in certain areas, it may indicate the need for additional grading or installation of drainage solutions, such as French drains or dry wells.
Another consideration is the function of different areas within your landscape. Assess how you plan to use each section of your yard, whether it’s for entertaining guests, growing plants, or providing space for children or pets. Understanding these specific needs will help determine the level of flatness required in various areas.
Additionally, take into account the type of soil you have in your yard. Some soils are more prone to retaining water, while others drain quickly. Knowing the characteristics of your soil will impact the approach you take during the regrading process. Consider adding amendments or adjusting the grade accordingly to optimize soil conditions and promote healthy plant growth.
Understanding the unique needs of your landscape is vital when it comes to leveling your yard. It enables you to address specific drainage issues and create functional spaces that align with your intended use of the outdoor area.
Tools and Materials for Leveling
Before embarking on the process of leveling your yard, it’s important to gather the necessary tools and materials. Having the right equipment at hand will not only make the task more efficient but also ensure that the job is done correctly. Here are some essential tools and materials to consider:
- Shovel: A sturdy shovel is crucial for digging and moving soil. Opt for a square-point shovel for general digging tasks or a scoop shovel for moving larger amounts of soil.
- Rake: A landscaping rake with sturdy tines helps smooth out the soil and level uneven areas. Look for a rake with adjustable tine angles to handle various grading tasks.
- Wheelbarrow: A wheelbarrow is essential for transporting soil, rocks, and other materials around your yard. Choose a durable, sturdy wheelbarrow that can handle heavy loads.
- Garden hose: A garden hose can be used to create level lines or boundaries when marking the desired slope in your yard.
- Level: A long, straight level is necessary for checking the evenness of the ground surface throughout the leveling process. Both a traditional bubble level or a laser level can be effective tools.
- Sod cutter: If you need to remove existing grass or thick vegetation from certain areas, a sod cutter can save you time and effort.
- Topsoil: Depending on the extent of leveling required, you may need to add topsoil to certain areas of your yard to achieve an even surface. Purchase enough topsoil based on the square footage and depth needed.
- Gravel: Gravel is often used as a base layer in specific areas to improve drainage and provide stability before adding topsoil.
Imagine tackling your yard leveling project armed with these tools: You start by using a shovel to remove excess soil in high areas and transfer it to lower spots. Next, you grab your rake to even out the soil surface, removing any bumps or hollows. The wheelbarrow comes in handy for transporting additional topsoil or gravel as needed. Meanwhile, you use the garden hose and level to mark level lines and ensure accuracy. With these tools by your side, you’re ready to create a level and polished landscape.
Process of Yard Leveling
Leveling your yard involves several important steps that, when followed correctly, can result in an aesthetically pleasing and functional outdoor space. Here is a breakdown of the typical process:
- Assessment: Start by assessing the current condition of your yard. Identify the areas that need leveling and determine how much slope adjustment is required.
- Clearing: Remove any existing vegetation or obstacles from the area that needs to be leveled. This may involve mowing, trimming, or using a sod cutter to remove grass and roots.
- Excavation: Use a shovel or other digging tools to excavate high spots in your yard and distribute excess soil into low spots. Ensure proper disposal of any excess soil if needed.
- Grading: Once the initial excavation is complete, use a rake to grade the surface and smooth out any rough areas. Pay attention to achieving an even slope according to your desired drainage requirements.
- Adding topsoil: If necessary, add topsoil to low areas to achieve an even surface. Spread it evenly using a rake or shovel, ensuring that it blends seamlessly with the existing soil.
- Compaction: Use a hand tamper or rented plate compactor to compact the newly added soil gently. This step helps promote stability and reduces future settling.
- Watering and settling: Thoroughly water the newly graded and compacted area to aid in the settling of the soil. Allow time for the water to penetrate and any air pockets to escape.
- Leveling check: Use a level or laser level to verify that the surface is appropriately leveled, making any necessary adjustments before moving forward with further landscaping projects.
Imagine walking through your yard leveling process: After clearing the area and assessing the slope adjustments required, you diligently excavate high spots and redistribute soil into low areas. With careful grading using a rake, you ensure a smooth and even surface. As you add topsoil where needed, you meticulously blend it in with the existing soil for optimal integration. Finally, you compact the soil, water it thoroughly, and perform a final leveling check to ensure your hard work has paid off.
Soil Preparation and Grading Techniques
Before embarking on the journey of regrading your landscape, it is essential to understand the importance of soil preparation and grading techniques. By properly preparing the soil, you can ensure a stable foundation for your yard and create a level surface that facilitates proper drainage. Here are some key steps and techniques to consider:
First and foremost, assess the current state of your soil. Take into account its composition, such as whether it is sandy, clayey, or loamy. Understanding the soil type will help you determine any necessary amendments or adjustments needed to improve its fertility and drainage capabilities.
Next, remove any existing vegetation or debris from the area you plan to regrade. This includes grass, weeds, rocks, and any other obstacles that may hinder the grading process. It’s important to have a clean slate before proceeding.
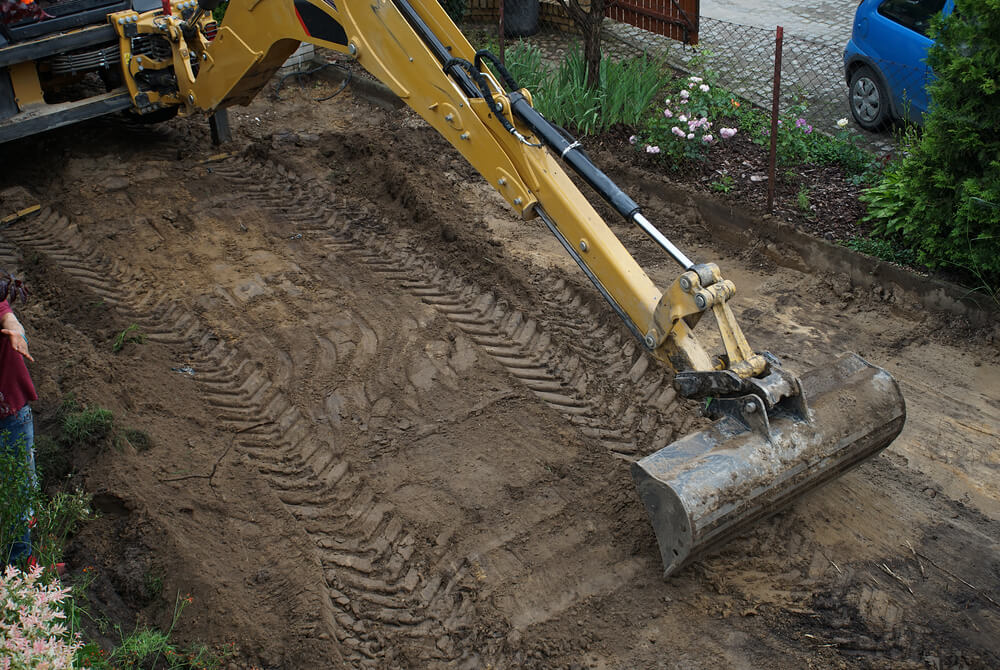
Once the site is cleared, use a shovel or a backhoe to cut into high spots and fill in lower areas. This process is known as rough grading and helps distribute soil evenly across the yard. Consider renting heavy machinery if you have a large area to grade or if there are significant elevation changes.
After rough grading, conduct a soil test to determine its pH level and nutrient content. Based on the results, you may need to amend the soil with organic matter or fertilizers to ensure optimal plant growth. Incorporating compost or aged manure can improve soil structure and add essential nutrients.
Now it’s time for fine grading, which involves creating a smooth and level surface for your yard. Use a landscaping rake or grading tool to carefully distribute the soil in desired areas, smoothing out any bumps or dips. Ensure that you maintain proper slope away from structures to facilitate water drainage.
During this process, pay close attention to any drainage issues on your property. Proper grading should direct water away from your house’s foundation and prevent pooling in specific areas. By ensuring proper drainage, you can avoid potential damage to your landscape, structures, and foundation.
Remember that soil preparation and grading techniques require careful observation and attention to detail. It may be helpful to consult a professional landscaper like Clean Cut Landscape Co. or soil engineer who can provide guidance based on your specific needs and the characteristics of your property.
Enhancing Yard with Terracing
Terracing is not only a functional landscaping technique but also an aesthetically pleasing way to enhance the beauty and usability of your yard. It involves creating multiple level surfaces on inclined landscapes, which not only add dimension but also help control erosion and improve water retention. Here are some steps to consider when preparing for terracing:
- Evaluate the Slope: Before starting the terracing process, assess the slope of your landscape. Steep slopes may require more intensive terracing techniques, while gentle slopes may only need minor adjustments. Take into account both the length and angle of the slope.
- Design the Terraces: Plan out the number of terraces you want and their widths. Consider factors like accessibility, aesthetic appeal, and how you intend to use each level. Sketching out a design can help visualize the final result and guide the construction process.
- Excavation: Begin by excavating each terrace’s outline with a shovel or excavation equipment. Remove excess soil from higher areas and use it to fill in lower areas as needed. Aim for a slight slope for each terrace to encourage water drainage.
- Retaining Walls: Install retaining walls along the edges of each terrace to provide structural stability and prevent erosion. Choose appropriate materials such as stone, concrete blocks, or timber based on your design preferences.
- Backfilling: Compact soil behind each retaining wall to ensure stability using a compacting machine or by hand tamping it down layer by layer. This step is crucial for preventing shifting or collapsing of walls over time.
- Soil Amendments: Add organic matter, compost, or soil amendments to each level of the terrace to improve its fertility and water-holding capacity. This will benefit the plants you intend to grow and promote their healthy growth.
- Plant Selection: Once the terraces are established, carefully select plants suitable for each level based on light exposure, moisture needs, and aesthetics. Consider using a variety of flowers, shrubs, or even small trees to create a visually pleasing landscape.
By implementing these steps in your terracing project, you can transform your sloped yard into a functional and visually appealing space that adds value to your property.
Steps for Terracing Preparation
Preparing for terracing is an essential step in leveling your yard and creating a visually appealing landscape. This process involves careful planning and execution to ensure the success of your terraced design. Let’s dive into the steps involved in terrace preparation.
Firstly, assess the topography of your yard and determine the areas that require terracing. Consider factors such as slopes, water drainage patterns, and existing structures. This assessment will help you identify the ideal locations for creating terraced levels and guide subsequent steps.
Once you’ve identified the areas for terracing, it’s crucial to clear the space of any existing vegetation, debris, or rocks. Clearing the area will provide a clean canvas for constructing retaining walls and leveling the terrain.
Next, measure and mark out each terrace level to establish the boundaries. Use stakes and strings to outline where each level will begin and end, ensuring they are properly aligned with your design vision. Taking meticulous measurements at this stage will help maintain precision during construction.
After marking out the terrace levels, it’s time to construct retaining walls. Retaining walls are crucial for holding back soil and preventing erosion between each terrace level. Depending on your preference and budget, choose appropriate materials such as concrete blocks, timber sleepers, or stone masonry to build sturdy retaining walls that complement your overall landscape design.
During the construction of retaining walls, pay attention to drainage considerations. Incorporate drainage systems like weep holes or pipes behind the walls to allow proper water flow and prevent hydrostatic pressure buildup behind them.
Lastly, once all retaining walls are in place, it’s time to fill each terrace level with suitable soil. Ensure a proper soil composition conducive to plant growth in each section. Additionally, consider using geotextile fabric between layers of soil to prevent erosion and maintain stability within each level.
Imagine transforming a sloping yard into a multi-tiered oasis with beautiful terraces, cascading plants, and a seamless connection between various outdoor living spaces. By following these steps for terrace preparation, you’re well on your way to achieving that tranquil haven.
- Preparing for terracing involves careful planning, assessment of the topography, clearing the space, measuring and marking out each level, constructing retaining walls, considering drainage systems, and filling each level with suitable soil. Proper terrace preparation can help transform a sloping yard into a beautiful oasis with multi-tiered terraces and a seamless connection between outdoor living spaces. Additionally, it is essential to consider budgeting when leveling your yard.
Budgeting for Yard Leveling
Budgeting plays a crucial role in any landscaping project, including yard leveling. Proper financial planning ensures that you can achieve your desired results without breaking the bank. Let’s delve into some key considerations when it comes to budgeting for yard leveling.
The first step is to determine the scope of your yard leveling project. Assess the size and complexity of the area that requires leveling and terracing. Are there any additional features or structures you plan to incorporate? Understanding the extent of the project will enable you to estimate the overall costs more accurately.
Next, research the average costs associated with hiring landscaping contractors or renting necessary equipment if you plan to undertake the project yourself. Costs may vary depending on factors such as location, labor rates, and material prices. Obtain multiple quotes and compare them to ensure you’re getting a fair deal.
Consider all aspects of yard leveling when creating your budget. This includes not just materials and labor costs but also any additional expenses like permits, soil amendments, drainage systems, retaining wall materials, and plantings. It’s essential to account for these potential expenses upfront to avoid any surprises along the way.
An effective way to manage your budget is by setting aside contingency funds. Allow a buffer in case unforeseen issues arise during the project that require additional resources or adjustments to your original plans. Flexibility will help mitigate unexpected costs and keep your project on track.
Budgeting for yard leveling requires careful consideration and foresight. With proper planning and realistic financial expectations, you can create a comprehensive budget that allows you to achieve your desired landscape transformation.
When contacting contractors, be prepared to provide details about your yard’s current condition, your specific needs and goals for the regrading project, as well as any budgetary constraints you may have. This will help contractors tailor their estimates and recommendations accordingly.
During the consultation or estimate phase, ask prospective contractors about their qualifications, certifications, and previous experience with similar projects. Inquire about the estimated timeline for completion, payment schedules, and any warranties or guarantees they provide for their work.
Hiring contractors for your regrading project requires careful consideration and research. Striking a balance between affordability and quality craftsmanship will ensure that your landscape is leveled effectively while meeting your budgetary requirements.